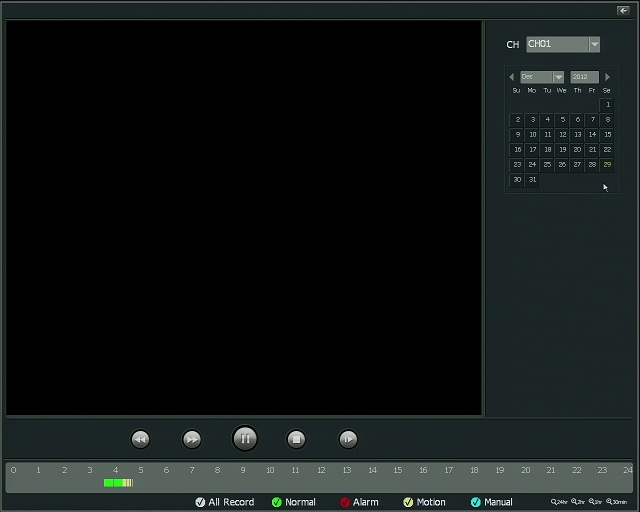
The following are all motion detection enabling steps once you've updated all new firmware onto the IP Cameras and NVR. Any camera with FW versions of 1.0.1X-D should be compatible. If your firmware contains 1.2.XX or 1.1.XX, please contact Zmodo directly for assistance:
1. Log into the IP Camera using Internet Explorer (Step 1 will need to be performed on all IP Cameras)
a. Go to Remote Configuration > Alarm Setting
b. From the Alarm Setting page, check the check-box labeled Motion Detect
c. Adjust the start and end time to read "00:00:00 – 23:59:00”
d. Left-click any squares in the grid that you do want to detect motion. Any non-orange squares in the grid will ignore motion. In this new firmware, you can click-and-drag over the squares to quickly select squares.
e. In the "Alarm Method" box, check Upload.
f. Click Submit to save these changes.
2. From the NVR, go to Main Menu > Setting > Motion Alarm
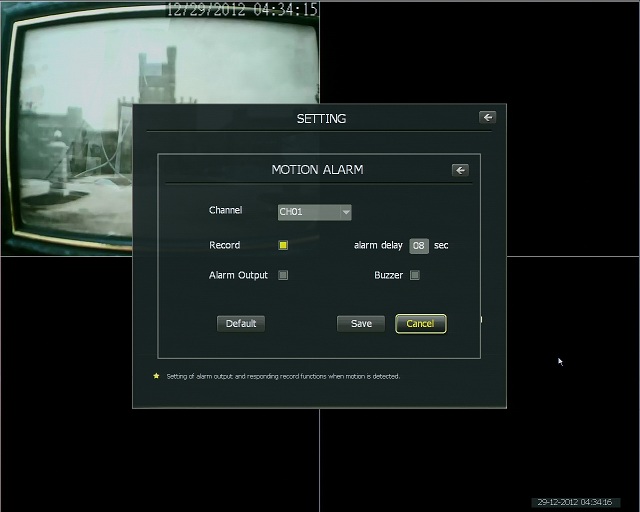
a. Check the check-box to enable Record for all channels in this menu.
b. Set the alarm delay to a number between 1 - 9 seconds.
c. Click "Save” to save these changes.
3. From the NVR, go to Main Menu > Setting > Schedule
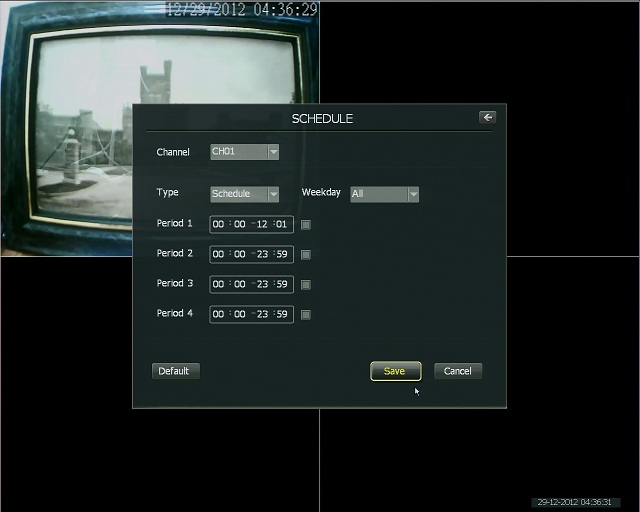
From the Schedule page, change the following settings:
a. Change Channel: CH01 to ALL
b. Change Weekday: Sun to ALL
c. From the Schedule Tab (accessed by selecting "Schedule” in the drop-down box) disable Period1. This will disable scheduled recording.
d. Click Save.
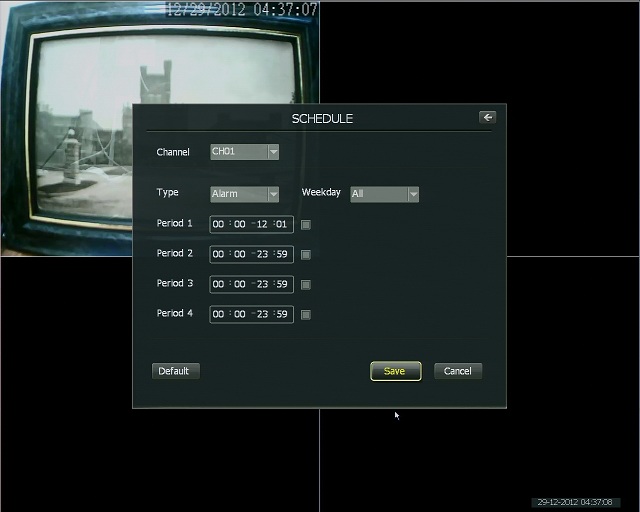
e. From the Alarm Tab (accessed by selecting "Alarm” in the drop-down box) make sure Period1 is disabled. This will ensure that Alarm-based recording is disabled.
f. Click Save.
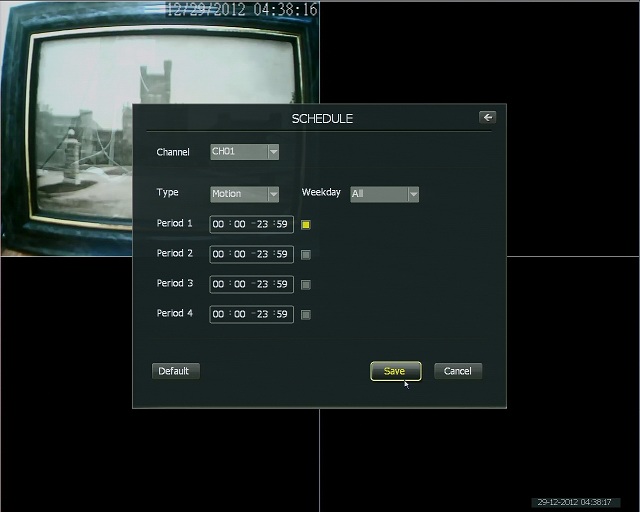
g. From the Motion Tab (accessed by selecting "Motion” in the drop-down box) set the time range to 00:00 – 23:59 in the Period1 field. Enable Period1 by selecting its check-box. This will enable motion recording.
h. Click Save.
