These instructions will enable motion recording on all channels based on the settings the DVR has out of the box.
WARNING: When first setting up your DVR be sure to format your hard drive before changing the record settings. Your DVR will not be able to record until doing so. Click Here for directions on how to format the hard drive.
Note: Navigating through the DVR is most easily accomplished with the mouse that came with it.
After the DVR has booted up right-click the mouse in order to log in. The default password is either 111111 or 888888.
After logging in, right-click the mouse 2 times to bring up the toolbar along the bottom. From this toolbar select the far left icon that looks like a gear and says "Settings" when the mouse is over the icon. 
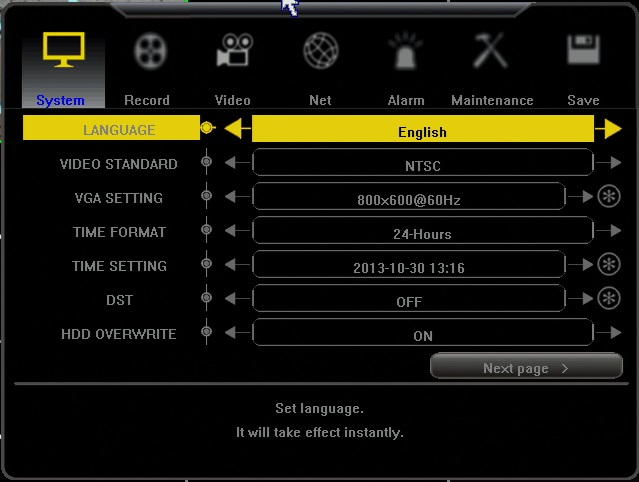
After entering the "Settings" men,u you will be on the System tab in the menu. You will need to click the "Record" tab at the top to enter the Recording menu.
From the "Record" tab click the arrow on the first line labled "Video Ch" until it reads "All." Should you ever desire to adjust just an individual channel's recording schedule you may adjust this line to the desired channel.
After changing "Channel" to "All" you will click on the star located on the "Record Schedule" line directly below "Channel."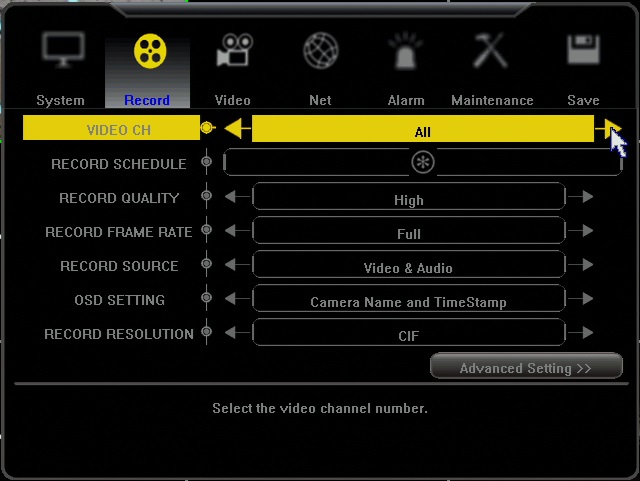
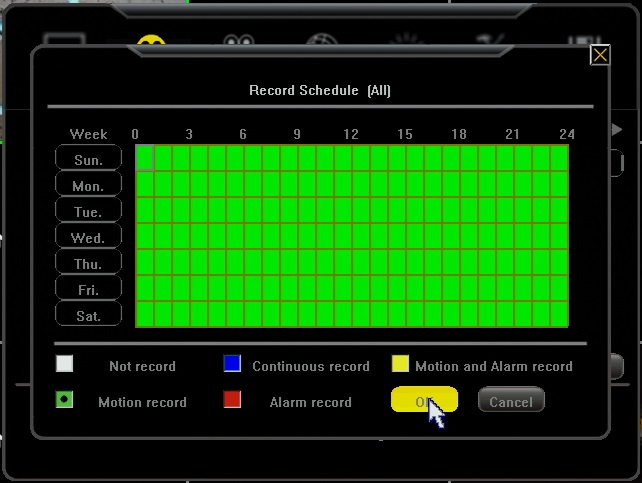
You are now in the menu where you can adjust the camera's recording schedule. When entering this screen the "Not record" option will always be selected. Click the "Motion record" box. After the change has been made you may click and drag or click individual squares in the grid above. The gride displays the days of the week on the left and hours of the day along the top. Adjusting the entire grid to green will set motion record for your cameras for 24 hours a day on all days of the week. When you are done click "Ok"
From this point you will go to the "Save" tab in the top right and select the "Save and Exit" option.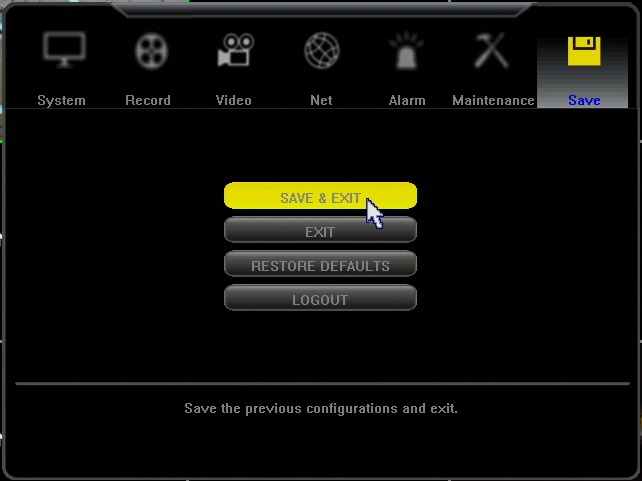
You should now be able to record on motion. When motion occurs you will see a small green man in the top of the camera window accompanied by a green dot. The dot itself is what indicated that the DVR is actually recording. You are finished! (If you do not get a green dot, but instead a grey dot keep reading below)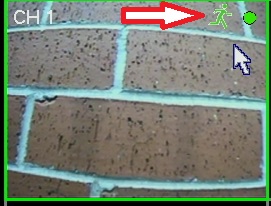
If you are getting a black dot in the top of the camera image that wont go away it simply means you're on manual record. Your DVR is still recording but will record non stop until manual record is disabled.
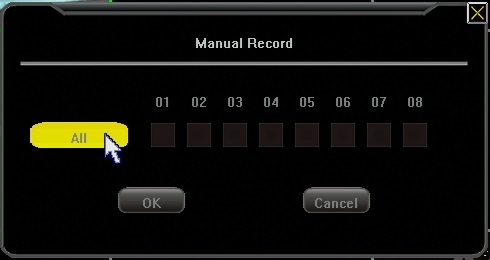
To disable this right click your mouse until you have your toolbar along the bottom. This time we will select the "Manual Record" option as shown below.
When you've selected Manual Record you will be given the window below. Hit the "All" button until all the check marks are removed from the boxes and hit ok. Manual record will now be disabled and the DVR will revert to the recording schedule you set in the menu. You are now finished and recording on motion and should be able to verify with the marks shown earlier.