If your version of Safari is newer than Version 5.0.5, the DVR will no longer be view able from Safari.
This setup guide details how to enable your Mac to view your DVR interface if you are using Mac OS that is 10.6 or newer. This guide does not include how to configure network settings on your DVR.
This setup guide will only work with Zmodo DVRs that have a menu that looks like this:
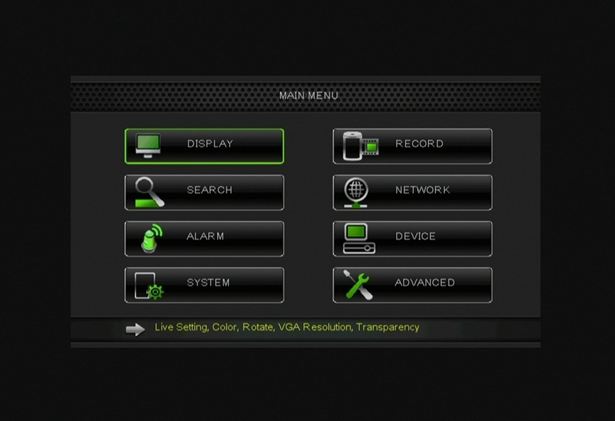
If your DVR’s main menu does not look like the one in the picture, this guide unfortunately does not pertain to your DVR.
1. First, check which version of Safari is on your Mac. To check this, Open Safari and go to the top left of the screen and Choose ‘Safari’ Next, select "About Safari”
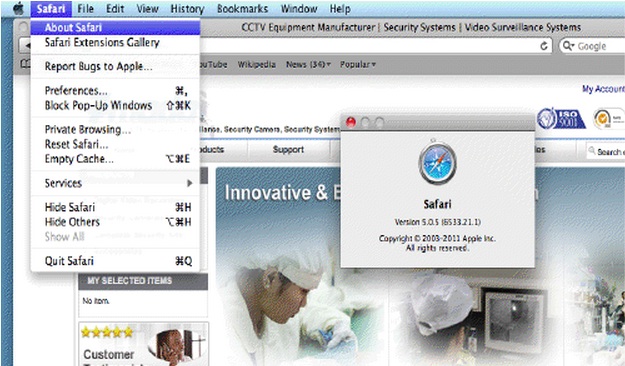
You need to have either Version 5.0.5 or 5.0.3. Newer versions such as 5.1.1 will not work. If you already have either Version 5.0.5 or 5.0.3, skip to step 13.
If you do not have either Version 5.0.5 or 5.0.3, you’ll need to download a 3rd party software that will backtrack your version of Safari for you.
2. Download either Version 5.0.5 or 5.0.3 before deleting your current version of Safari. Version 5.0.3 is available at http://mac.oldapps.com/safari.php, and Version 5.0.5 is available at http://bit.ly/iisRHZ
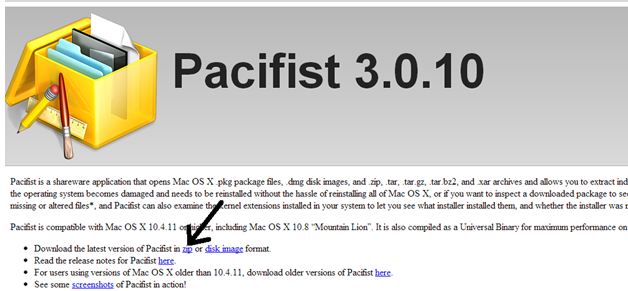
3. After you have downloaded either Version 5.0.5 or 5.0.3, go to http://charlessoft.com and download Pacifist.
4. Close out of Safari completely. To completely close Safari, press CTRL + Click on the Safari logo and choose ‘Quit’.
5. Press CTRL + Click on the Applications folder and choose ‘Open Applications’
6. Find Safari and drag it into the trash can. You will need the Administrator password to do this.
7. Open Pacifist and wait for the 15 second timer to count down to 0. Then click ‘Not Yet’
8. Click ‘Open Package’ and find the DMG of the Safari you downloaded.
9. Then select ‘Contents of Safari 5.0.5SnowLeopard.pkg’ and choose ‘Install’
10. Make sure ‘Use Administrative Privileges’ is checked.
11. Input the password and select ‘Ok’
a. If a message comes up that says ‘File Already Exists’, check mark ‘Don’t Ask again for this installation’ and choose ‘Replace’.
b. If a message comes up that says ‘Application Already Exists’, check mark ‘Don’t Ask again for this installation’ and choose ‘Replace’
12. Open the Applications folder again and drag the Safari icon to the dock.
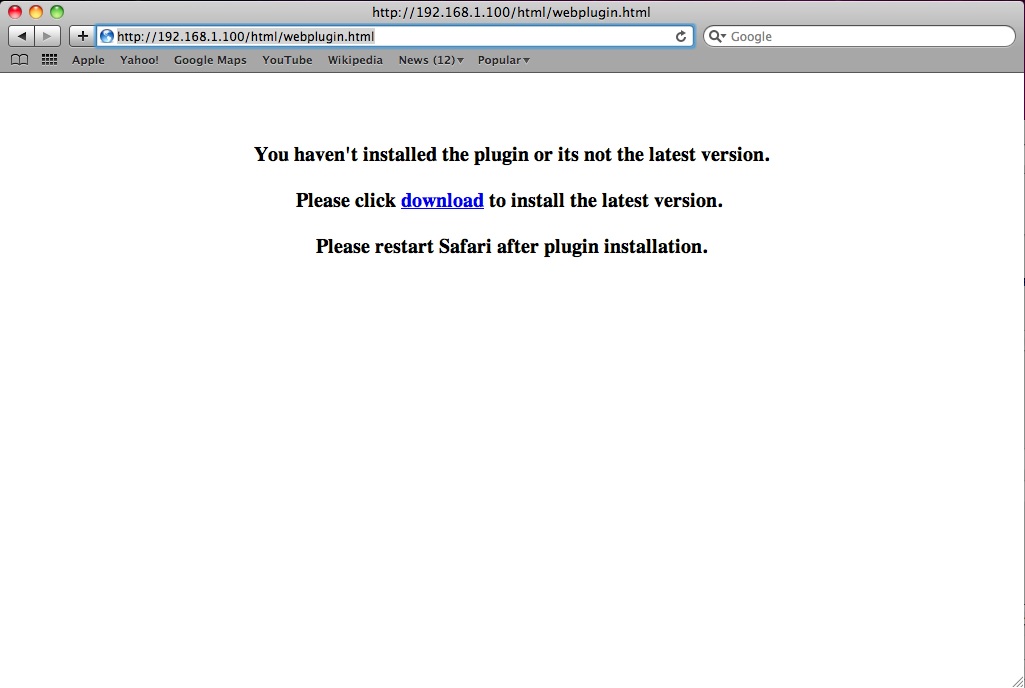
13. Open Safari and enter the IP address of the DVR into the browser.
14. When prompted, click the ‘download’ link and download the plugin.dmg file.
15. It should automatically open the Install Surveillance Client installer. Follow the prompts to install it to the Mac.
16. Once the install is complete, CTRL + Click on the Safari icon and choose ‘Quit’. You need to exit out of Safari, then re-open Safari in order for this plugin to take effect.
17. Open Safari again and return to the IP address of the DVR. It should load up the User Login screen.
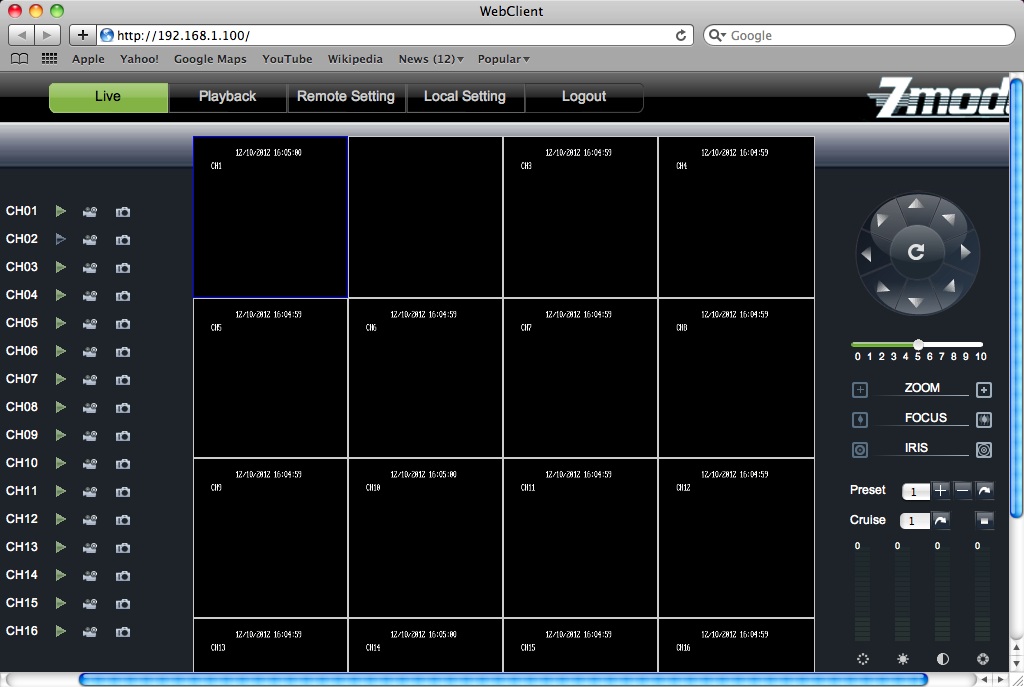
18. You should now have access to your DVR from Safari if the network settings in the DVR have been configured as well. Do not update Safari if OSX tries to. If Safari gets updated to anything newer than Version 5.0.5, the DVR will no longer be view able from Safari.