Usually, this problem would be generated due to a Wi-Fi signal interruption on this particular camera. There might be a conflict with the Wi-Fi IP Address assigned to that camera, or simply that the router has stopped detecting it.
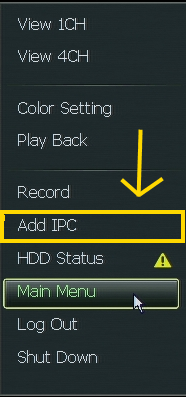
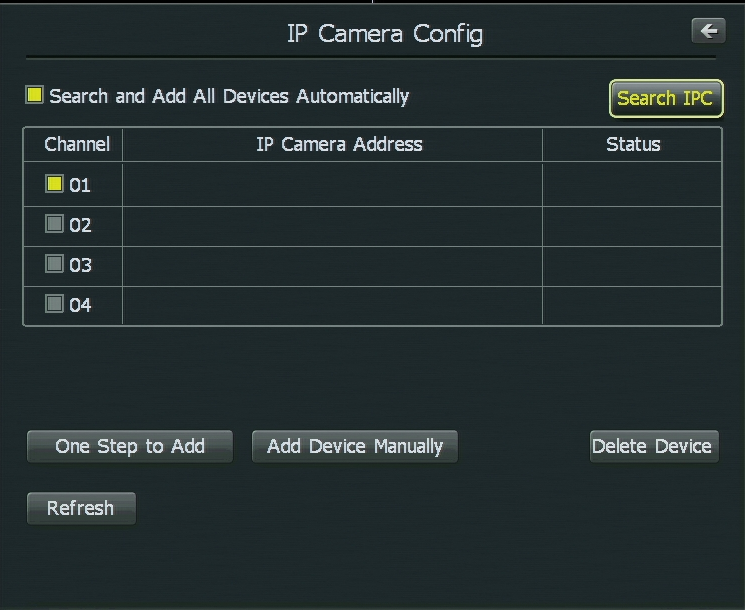
The first thing you will want to do is go to the NVR, right click on the mouse and select the option labeled "Add IPC”.
Take note of which IP Address is the one that is showing offline in the camera list.
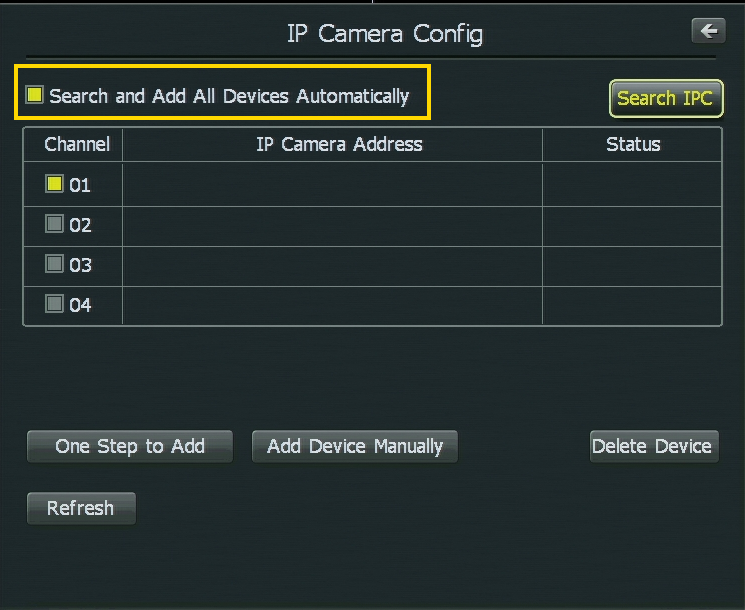
Proceed to the NVR's Add IPC menu, turn off the "Enable Auto Add” feature by clicking on it (White box=on, blue box=off).
Here, you will want to select the camera that shows offline and click on "Delete Device”.
Proceed to your Windows Computer (preferably hardwired to the same router as the NVR), click on the start button, and type "Internet Explorer” on the search bar down the bottom.
Right click on the icon that will populate on your search results simply labeled as "Internet Explorer” (this will be the IE 32-bit, avoid using IE 64-bit or the No Add-ons one).
On the address bar, please type in the IP Address of the camera showing offline that you wrote down (I.e http://192.168.1.151) and press the enter key.
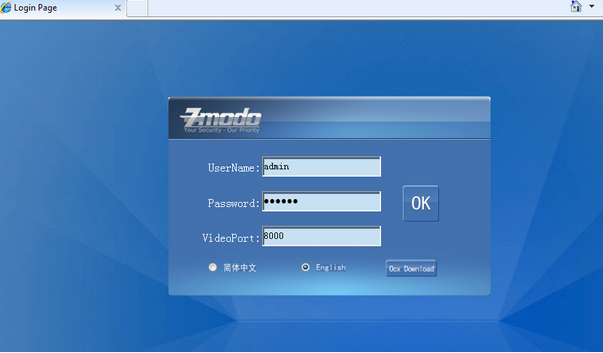
If it the loading circle spins on the tab for more than 10 seconds, open a new tab next to it until the login screen from the camera pops up.
Once you log into the camera with the username: "admin” and password: 111111, click on the gear tap on the top and then select "Remote Configuration”.
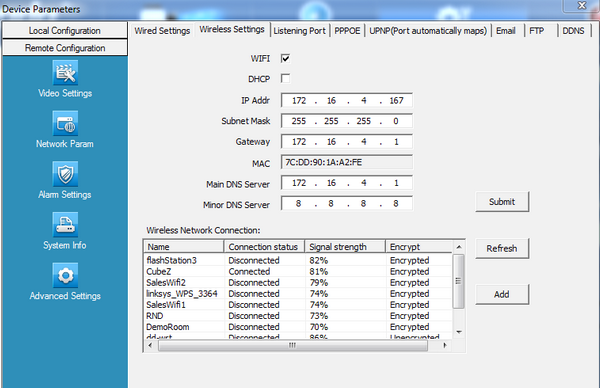
You will want to click on "Network Param” and select the tab "Wireless Settings”.
Here, change the last 3 digits of IP Address of the camera to another IP that is available in your network and then hit "Submit”. This will save the changes.
Next, close that Internet tab. Disconnect the camera from the power, wait 5 seconds, and plug it back in. Do the same reboot with the NVR system.
Proceed to the NVR's Add IPC menu, re-enable the Auto Add by clicking on it again, and allow the list to auto populate, this time, the camera should show up with the new IP address we assigned to it with the status "Online”
Not able to pull up camera on Internet Explorer: If you were not able to pull up your camera through its IP Address on Internet Explorer, you will want to reset the camera back to defaults.
This can be done by pressing the reset button located in one of the splits that comes out of that camera. Press and hold the small white button in this split for about 15-20 seconds, and start the network process all over by hard wiring the camera back to the router.

