This article will guide you through setting up the ZMD-DT-SFN6 DVR to record continuously.
WARNING: In order to record your DVR must have a hard-drive installed and formatted. If(and only if) you see the prompt below when turning your DVR on please Click Here for directions on how to format your hard-drive. You will be unable to record until you do so.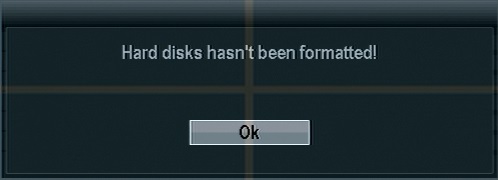
If you do not receive this prompt or have already followed the directions at the above link then continue below.
______________________________________________________________________________________
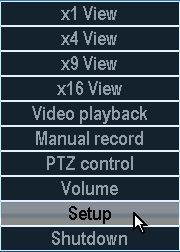
Once the DVR has booted all the way up right click the mouse to bring up the sub-menu. Select "Setup". You will be asked to log in if you haven't already. The default login is already entered for you as "admin" and no password. Click ok. After having logged in right click to bring your menu up one more time and click "setup" one more time and enter the main menu.
From the main menu select "System Setup".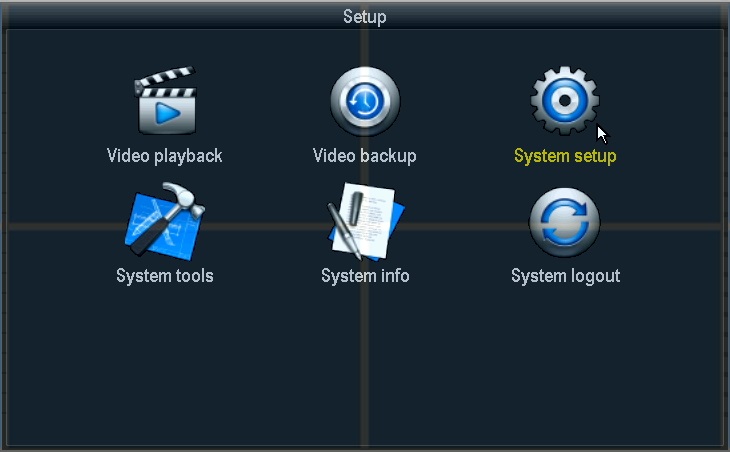
From the System Setup menu select "Record setup".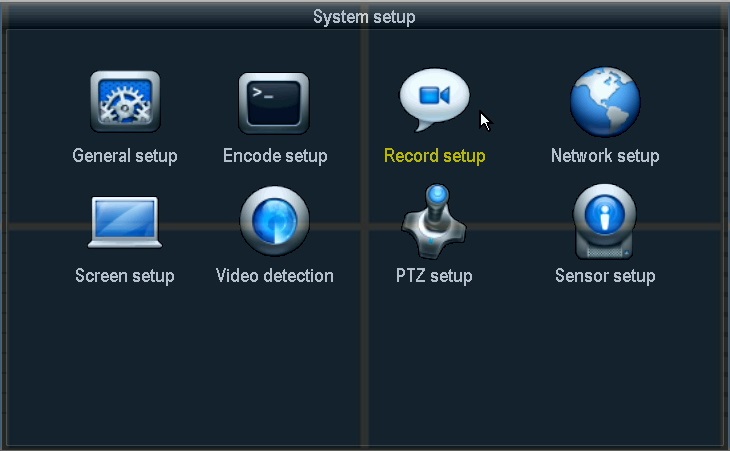
In the record setup menu the first thing to do will be to set the Channel to 1 and the weekday to "Everyday". Next we will put a check mark in the "Motion" box on the "Schedule1" line and remove any other checkmarks we see. Schedule1 should be set to "00:00 - 23:59". Finally in the bottom left we will set the "Copy to" line to All and then press the "Copy to" button. Finally you will press "Ok".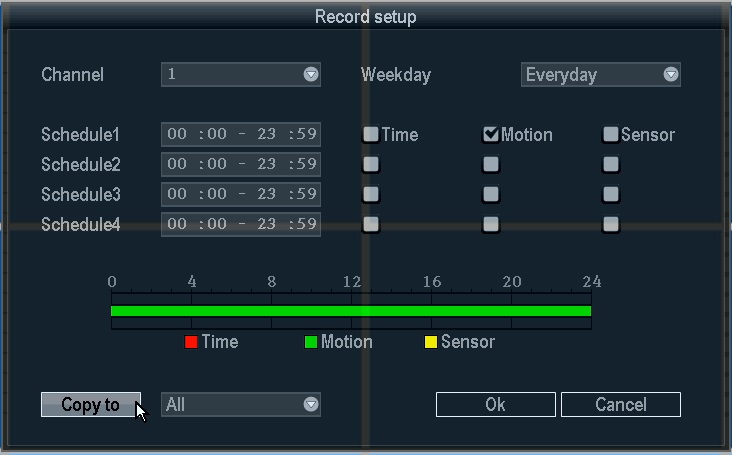
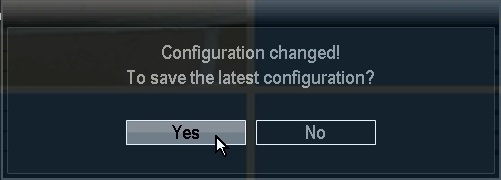
After pressing "Ok" and returning to the previous page right click the mouse until you are ENTIRELY out of the menu. You will receive a popup asking if you wish to confirm your changes - Press Ok.
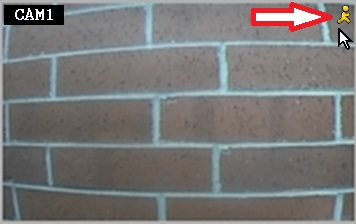
After the configuration changes you can verify motion recording by watching for a small yellow symbol of a person in the upper right corner of the camera image as shown below.