Connecting camera to WiFi using a Smartphone
On cameras which have a QR scan code on the back, you can use either your smartphone or a PC to connect the camera to WiFi. If the camera does not have a QR scan code, then you will need to use a PC to connect the camera to WiFi. This article walks through how to connect your camera to WiFi using your smartphone.
First download and install the Zsight app from the app store on your smartphone
Android iPhone

Once installed, sign up and log in to the Zsight app
Android iPhone
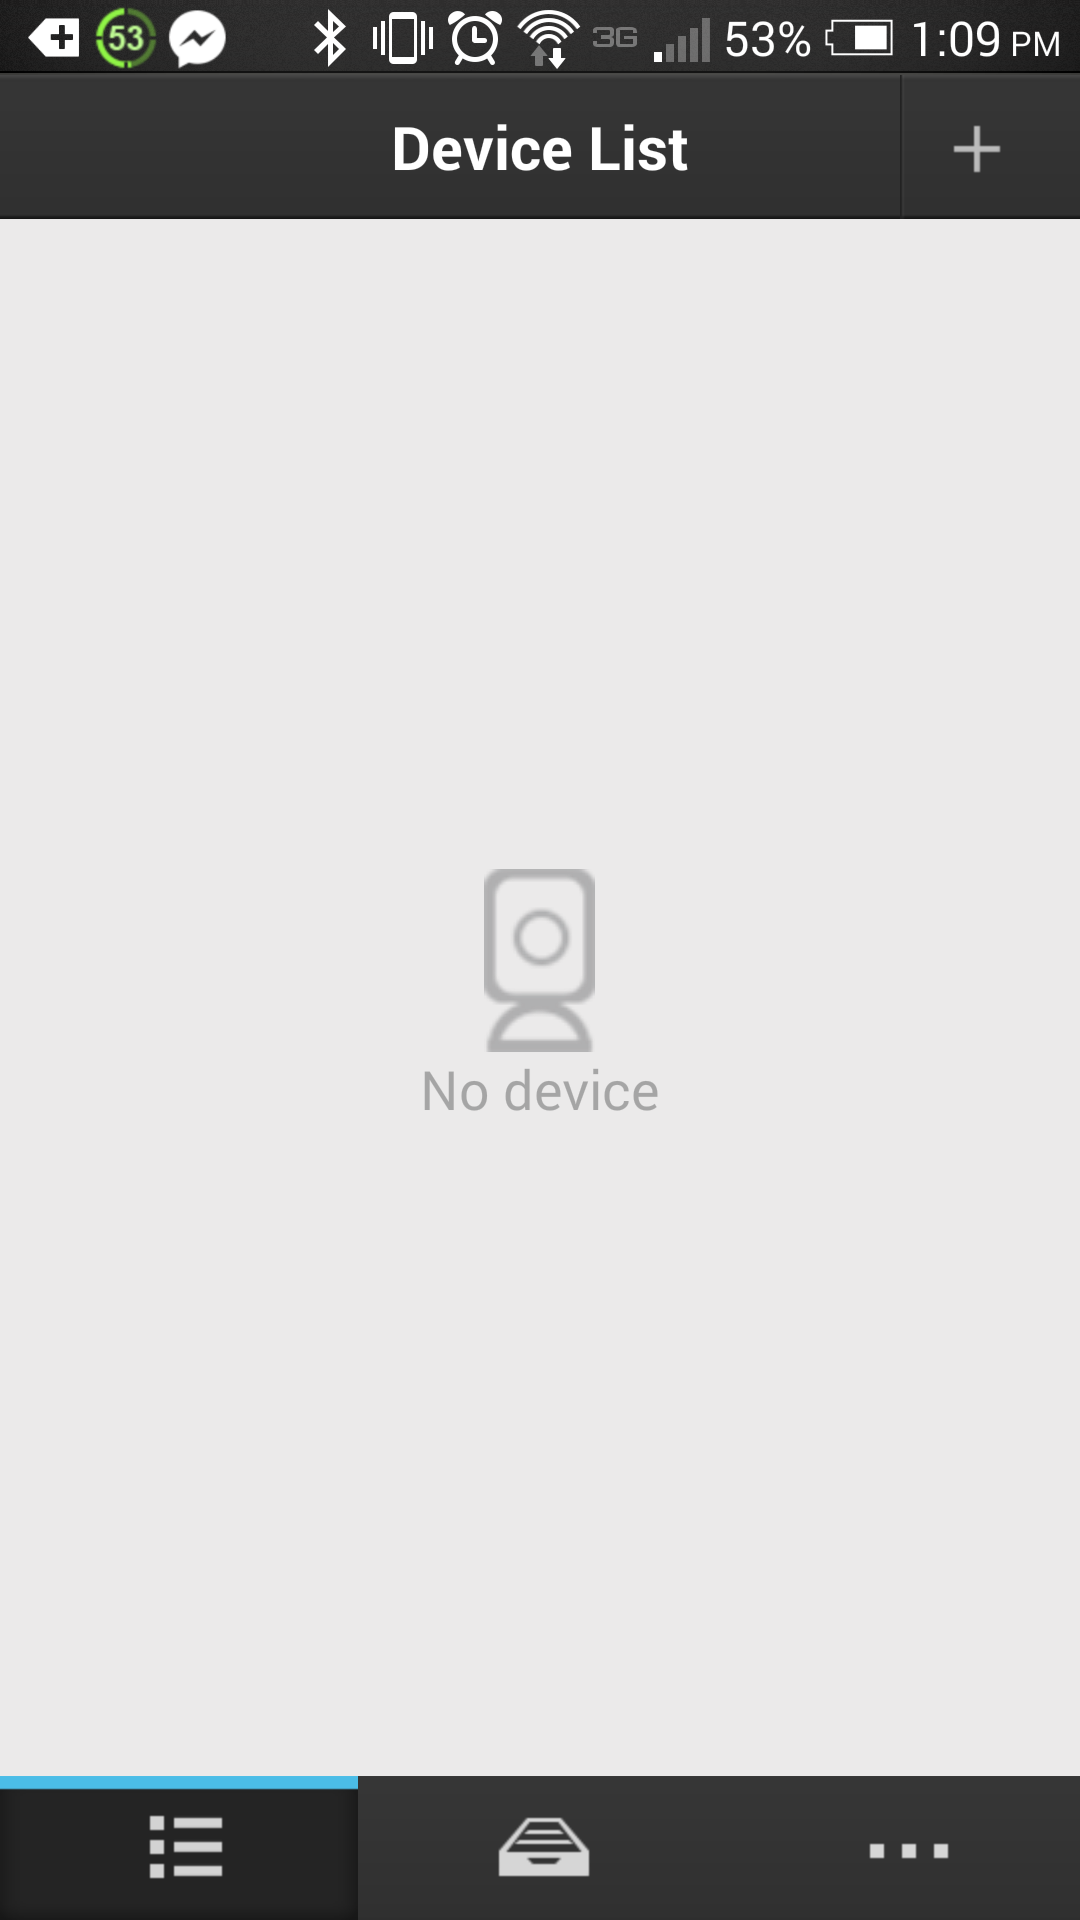
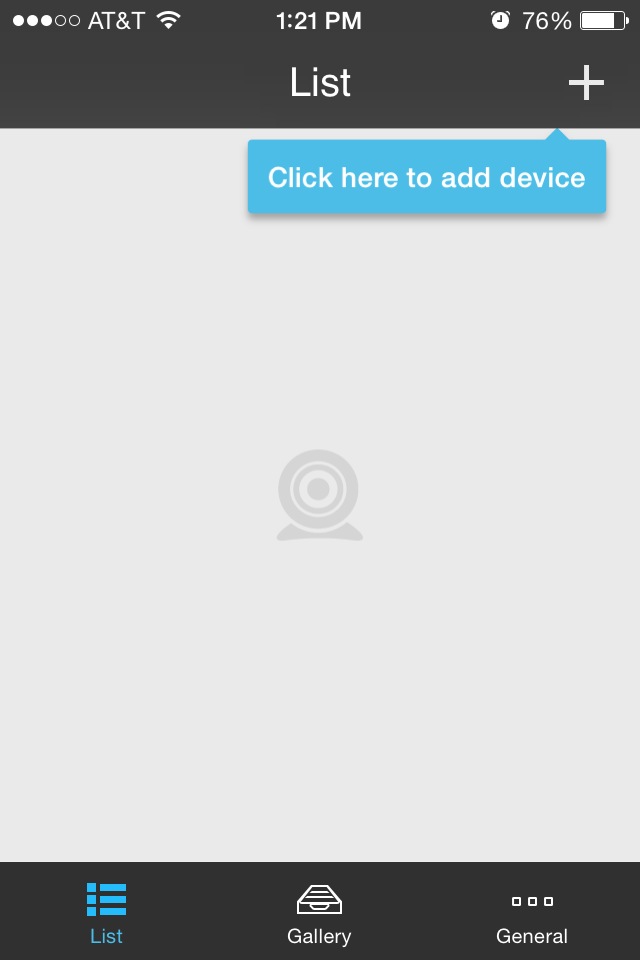
Tap the " + " symbol in the top right corner to add a device, select “Scan QR Code”
Android iPhone
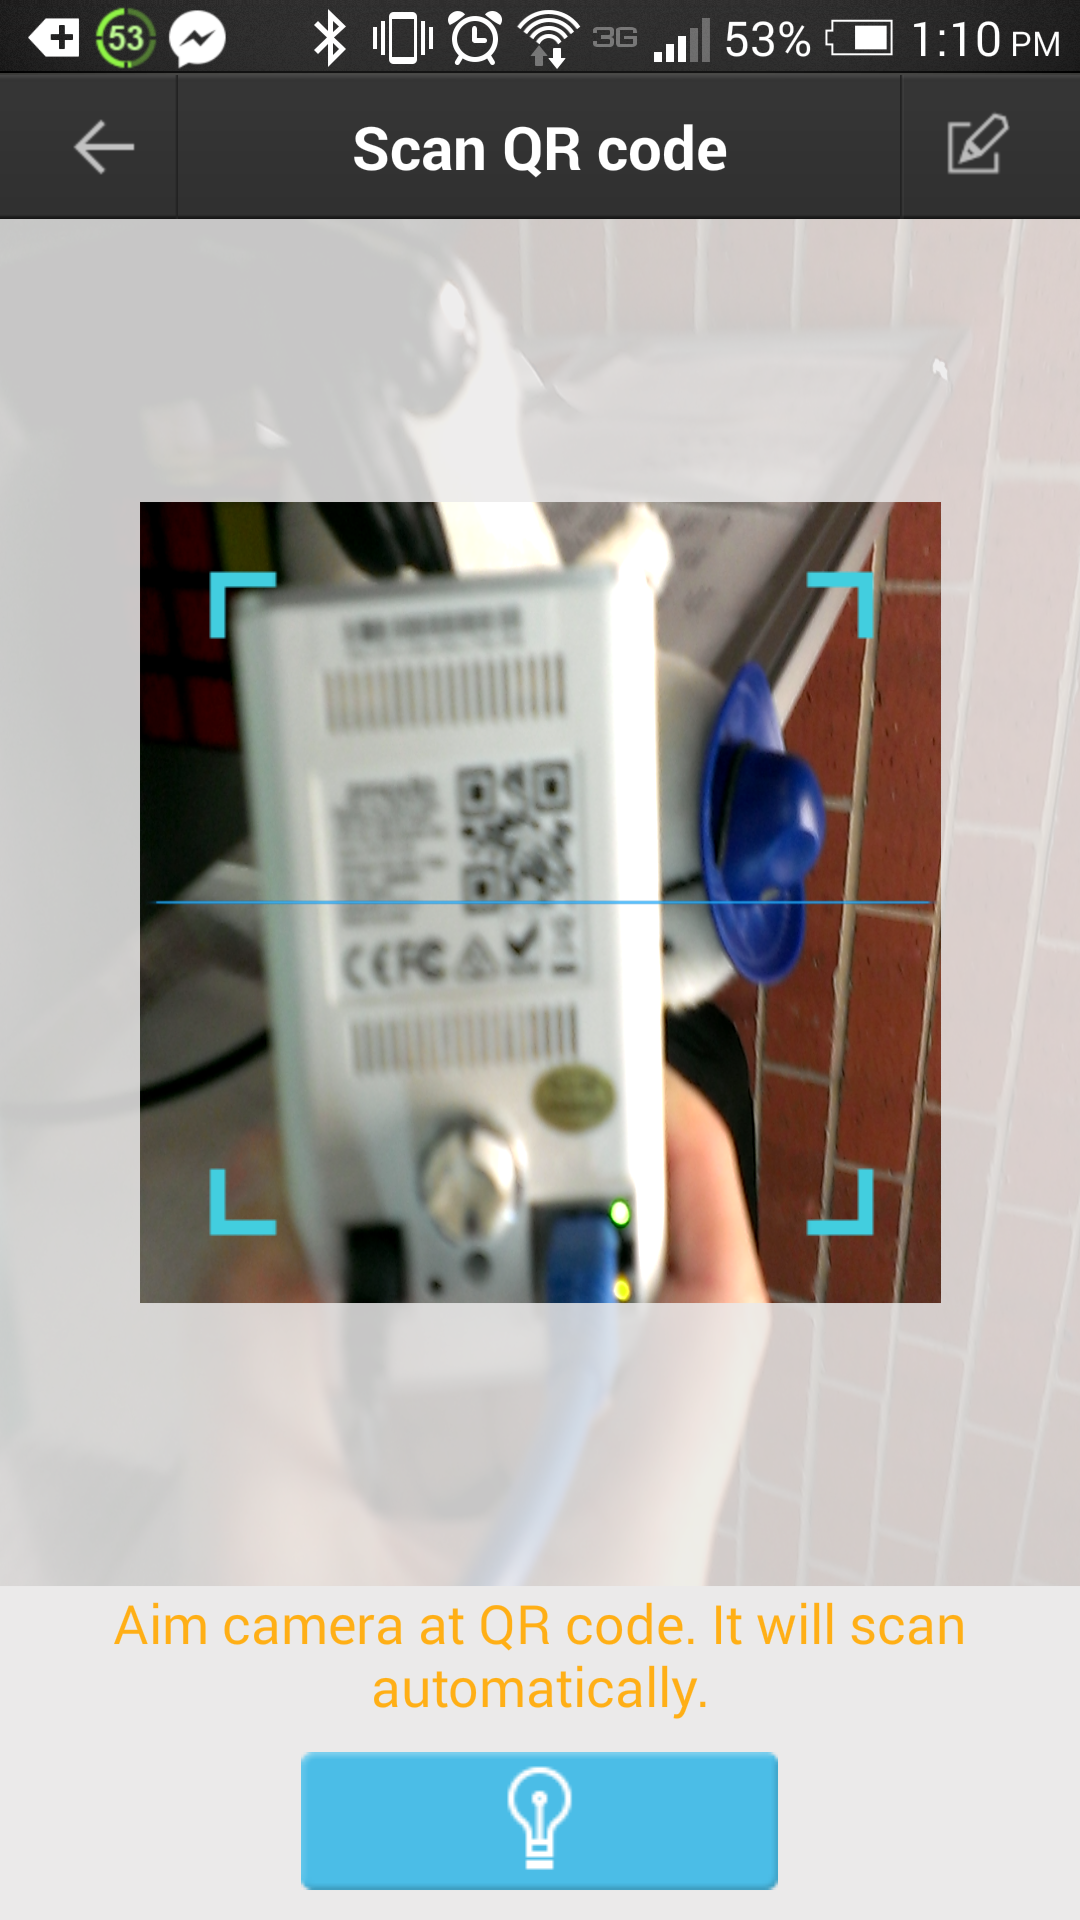
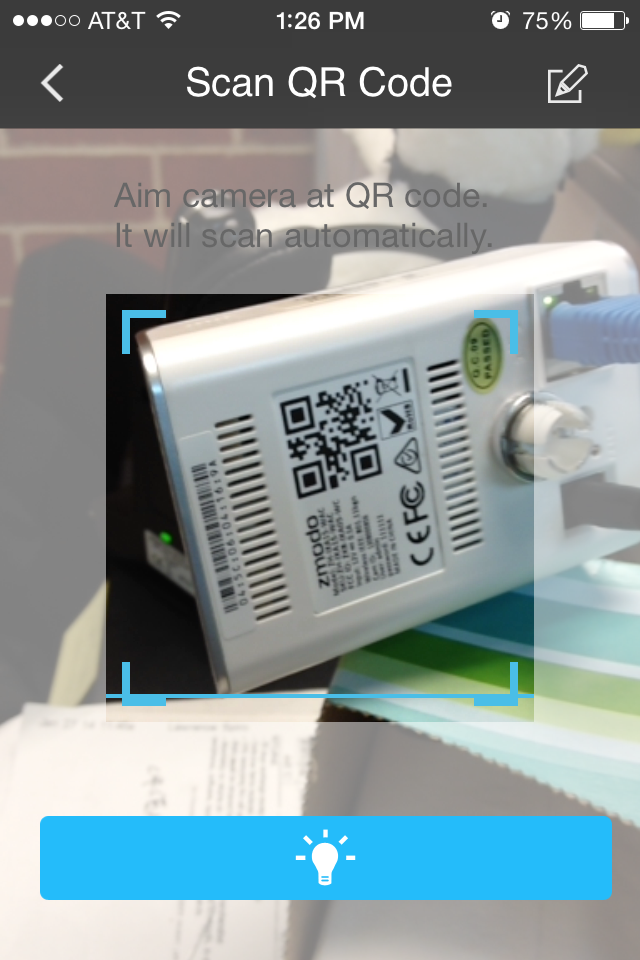
Position the phone and camera so that the QR code is inside the box on screen as shown. Once the phone successfully scans the camera, it should move to the next screen.
Android iPhone
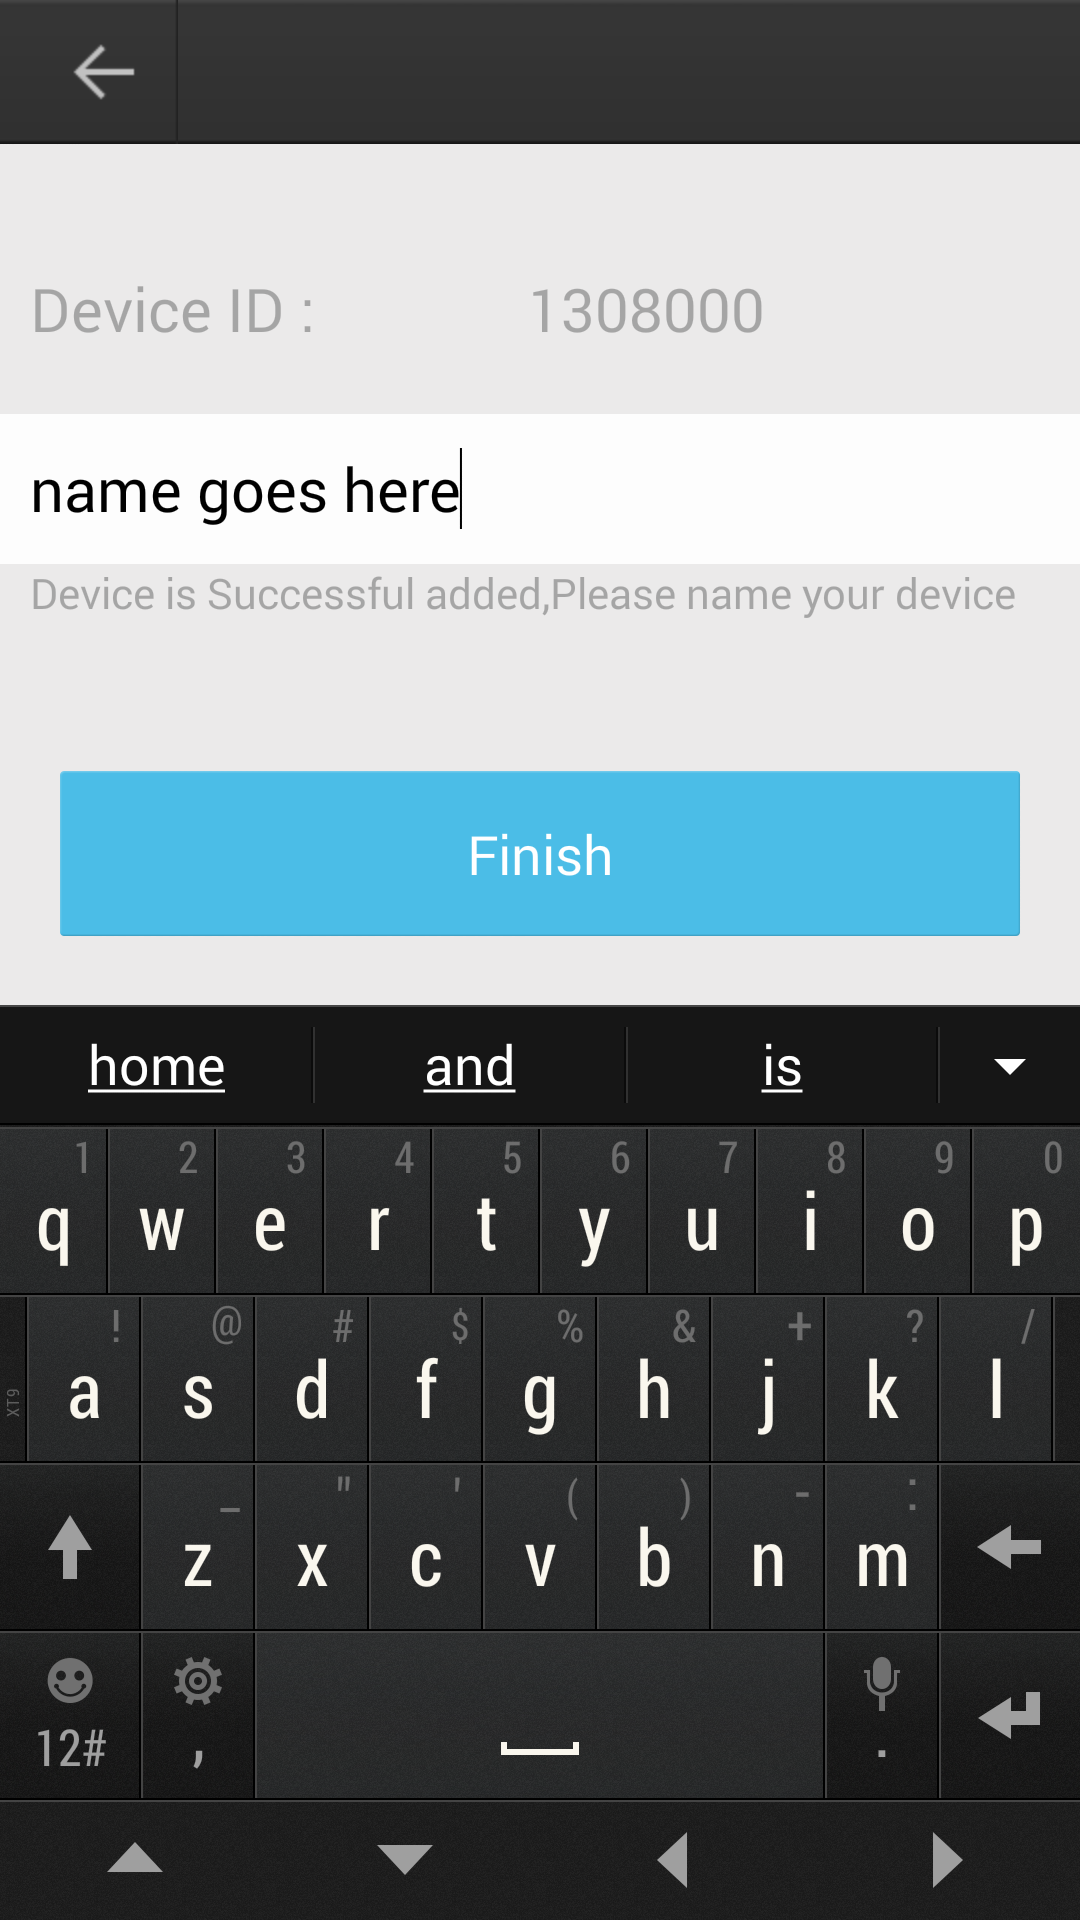
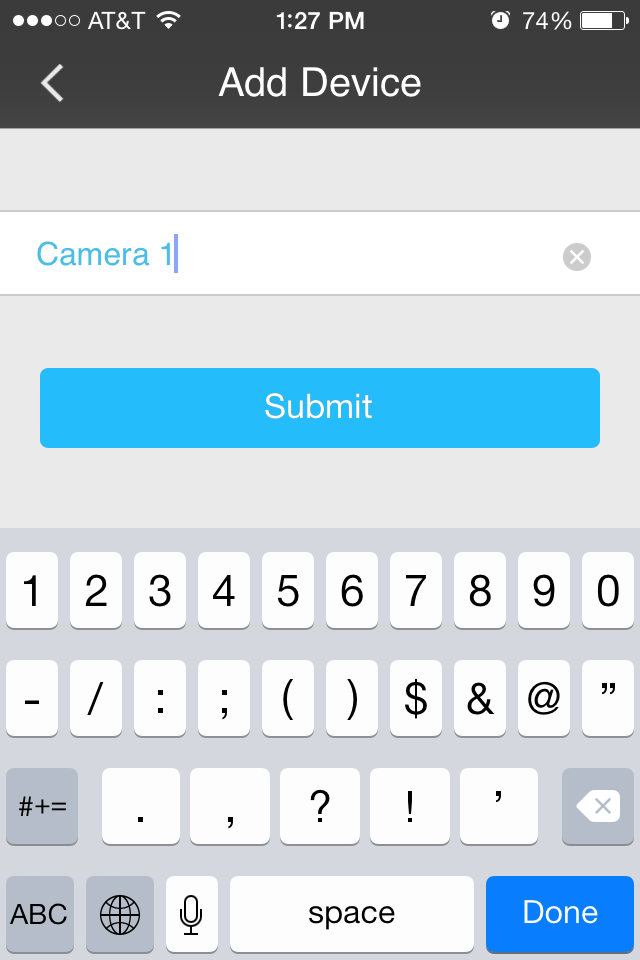
You can then give the camera any name that you would like.
Android iPhone
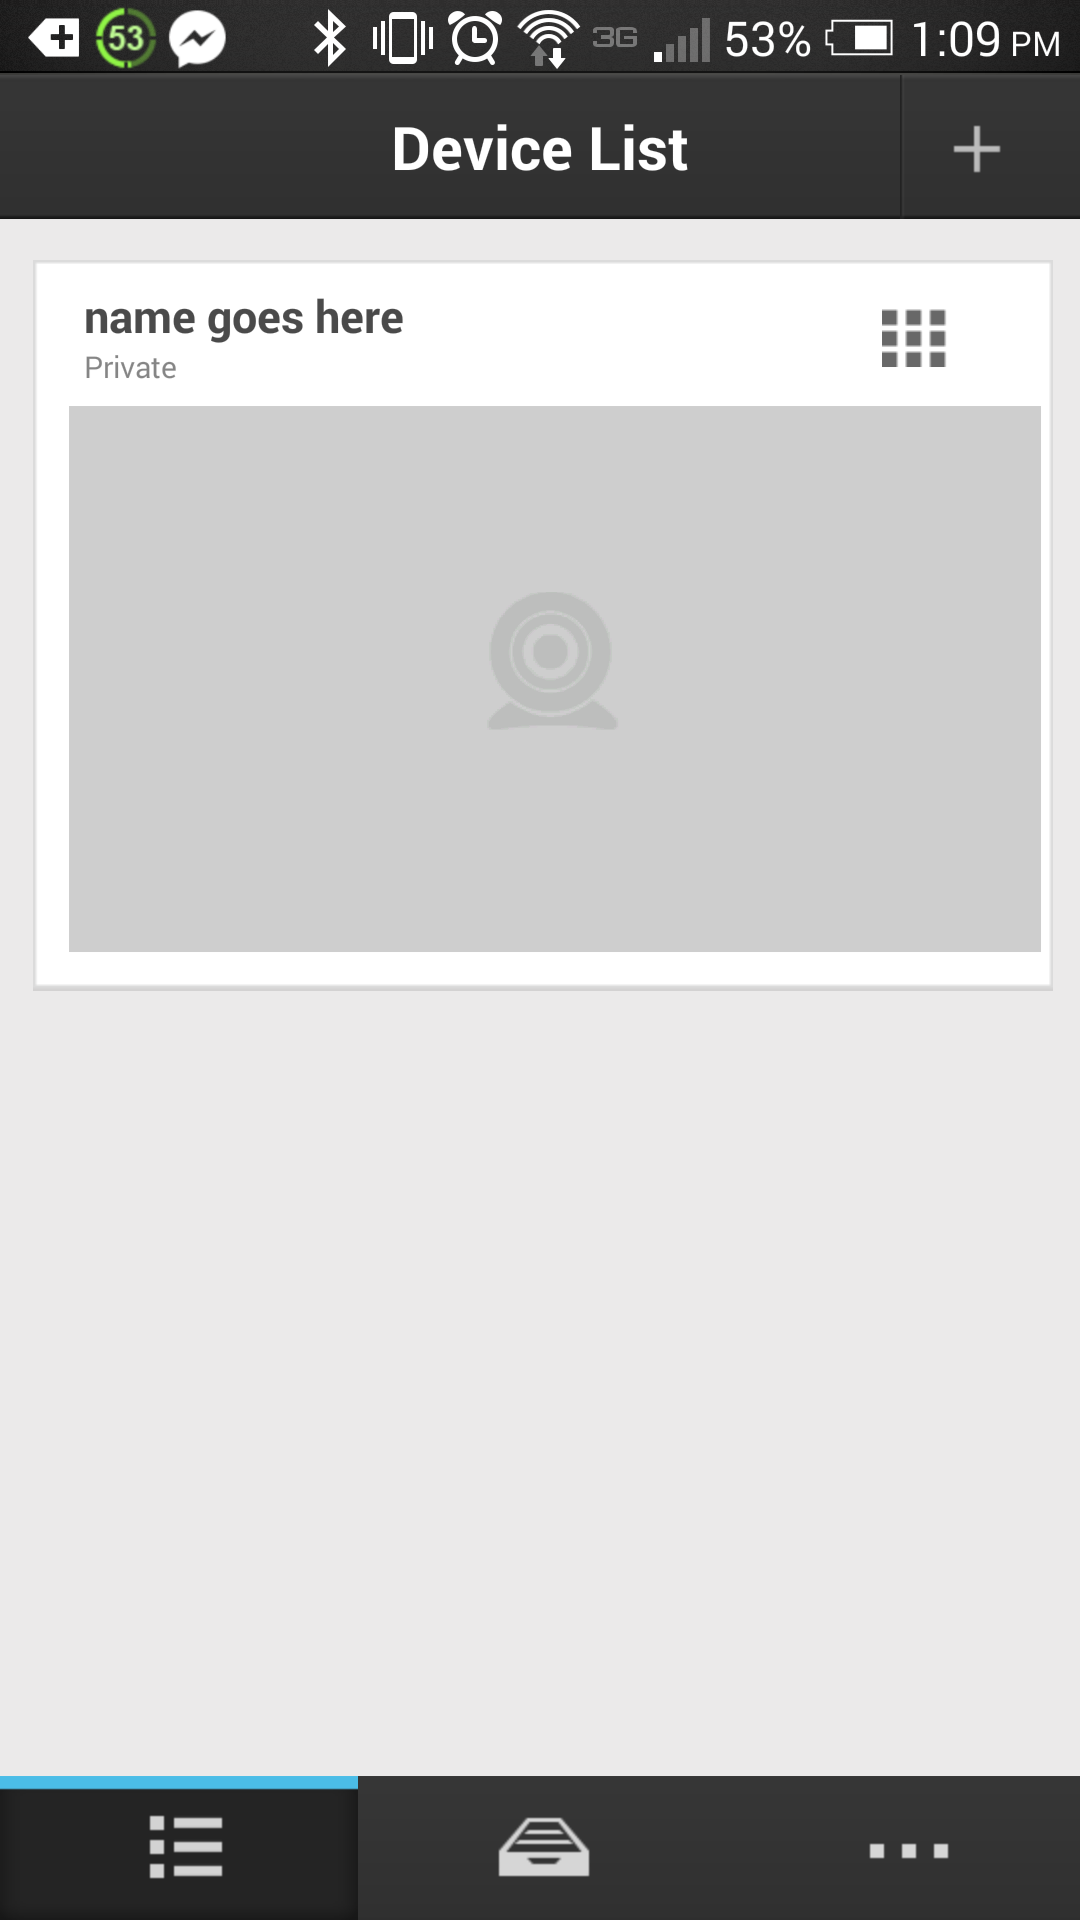
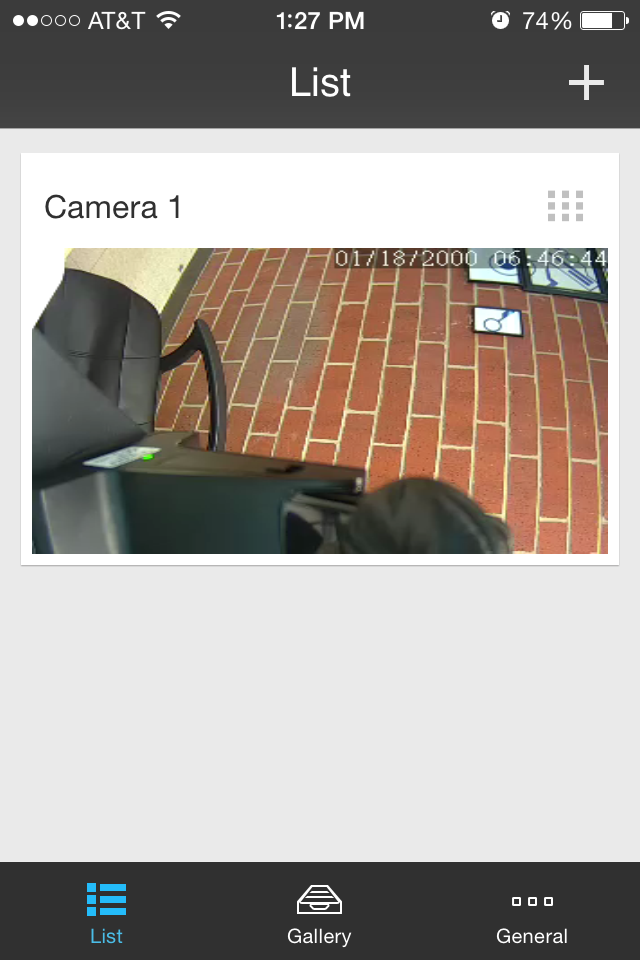
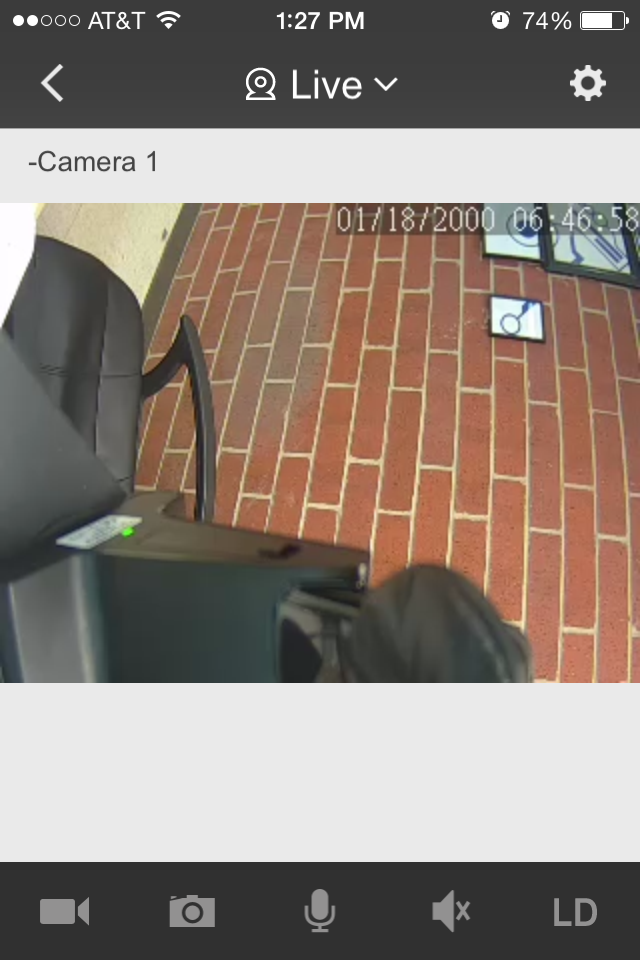
Once you can see the name you gave in the list, tap on the camera listed there to bring up the live image.
Android iPhone
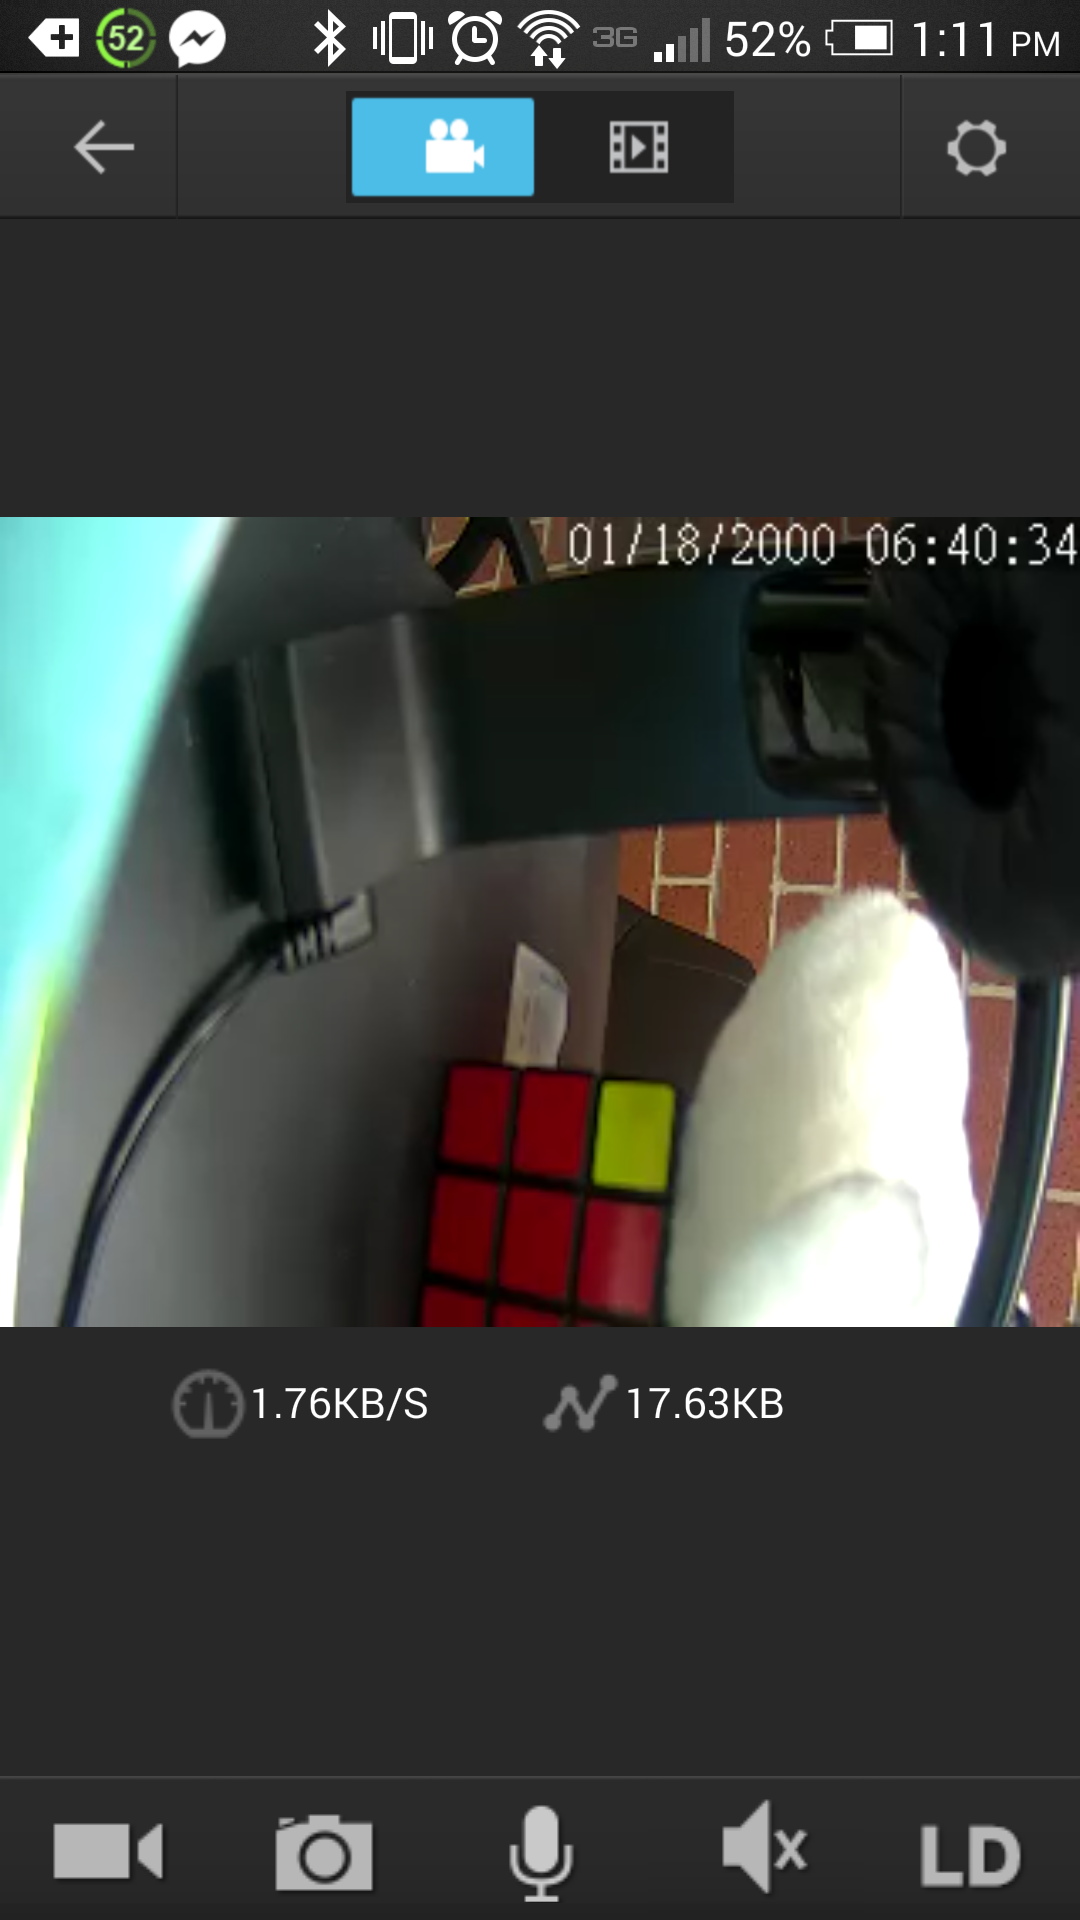
From the live image, tap on the gear icon to enter the camera settings.
Android iPhone
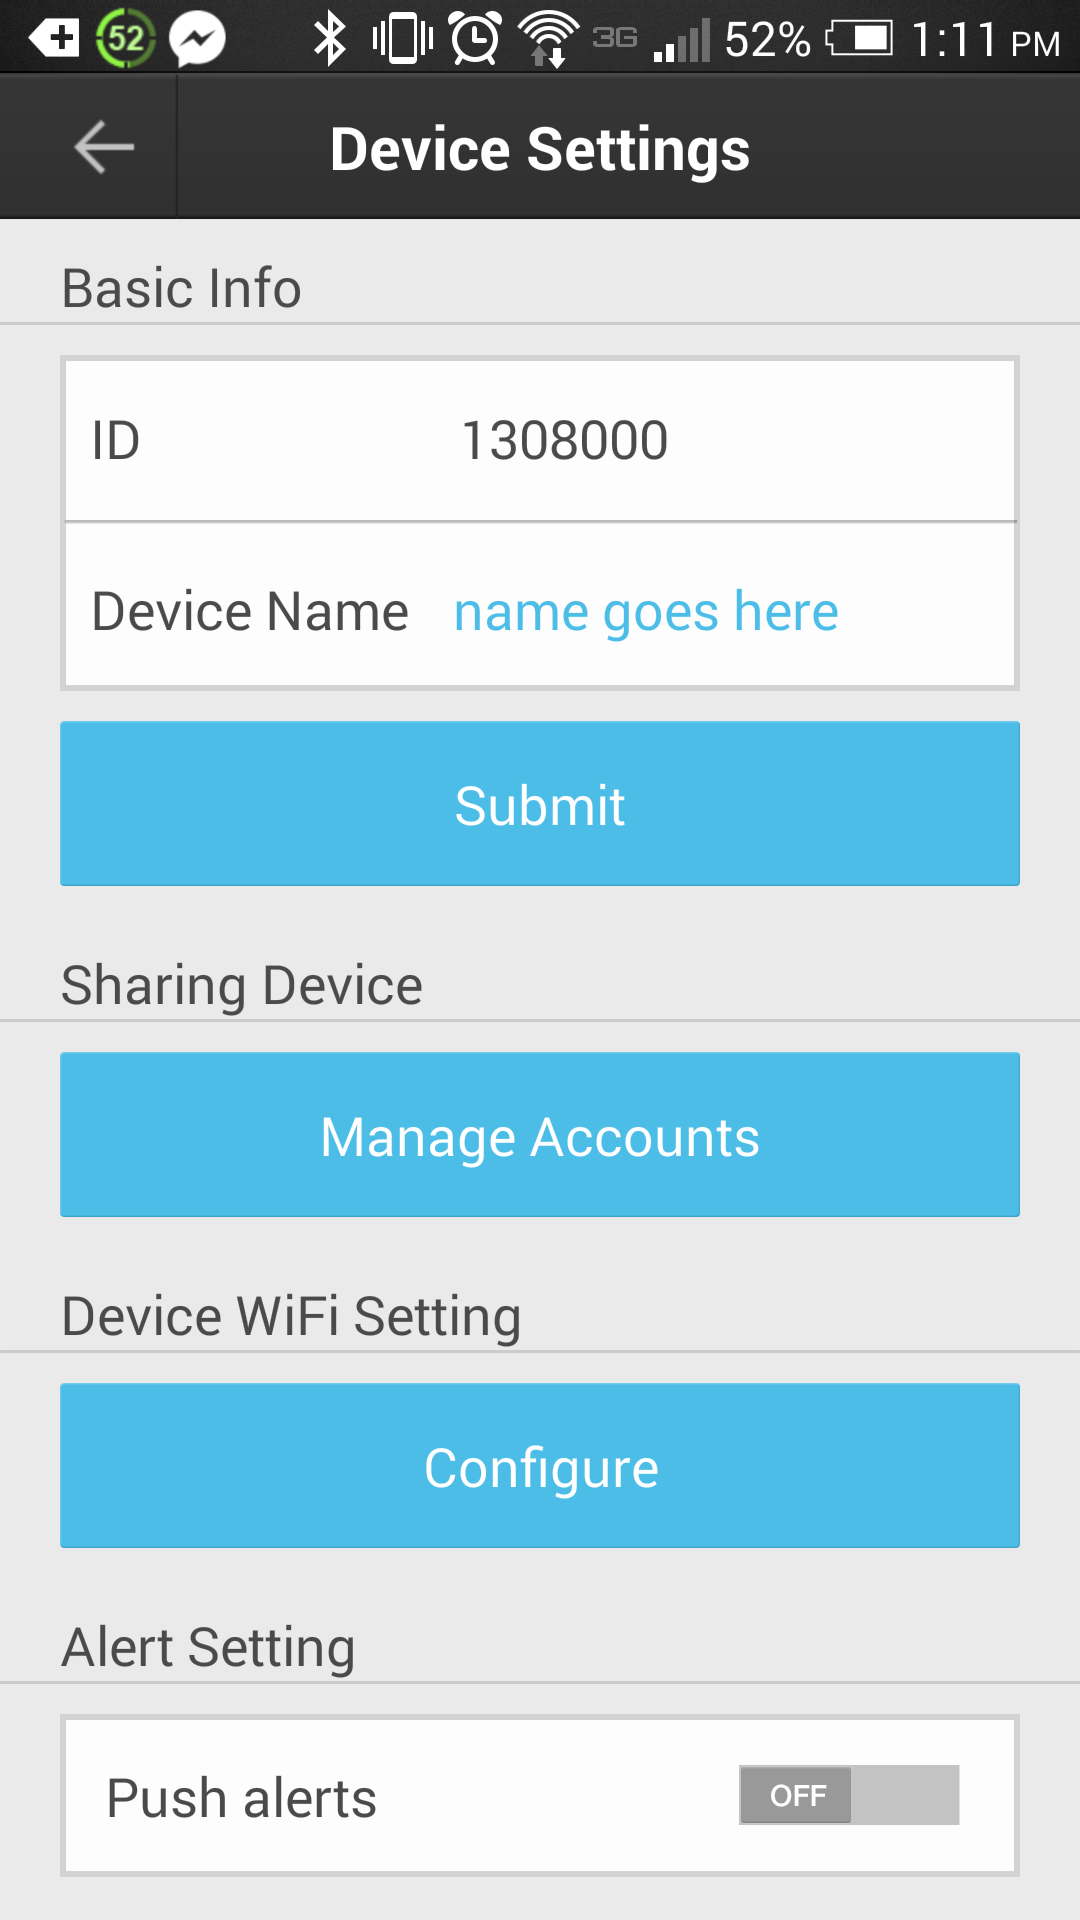
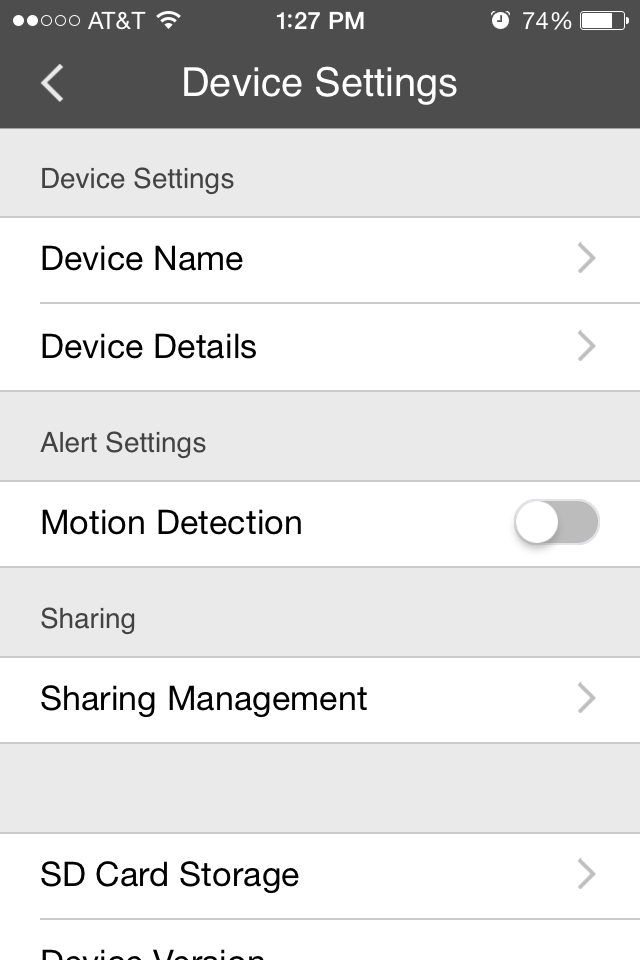
On an android tap the “configure” button under “Device WiFi Setting” for an iPhone tap “Device Details”
Android iPhone
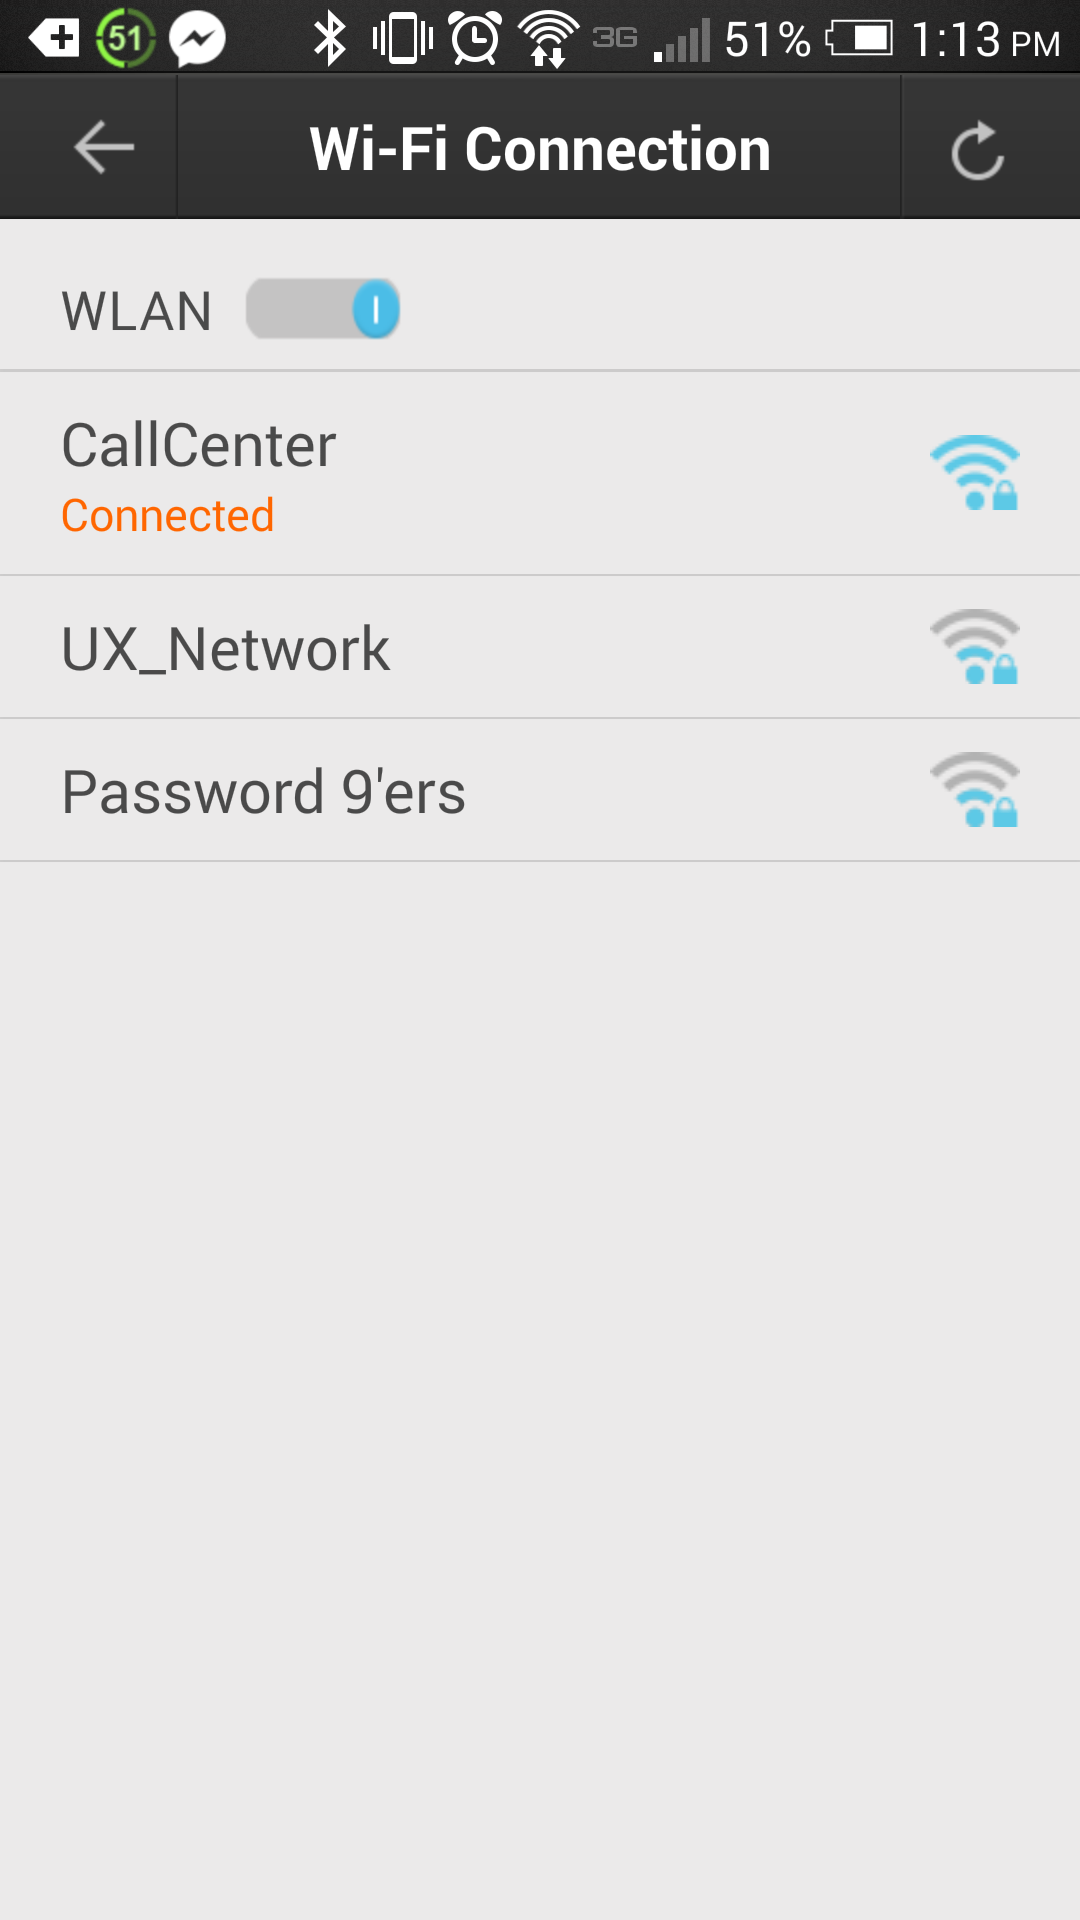
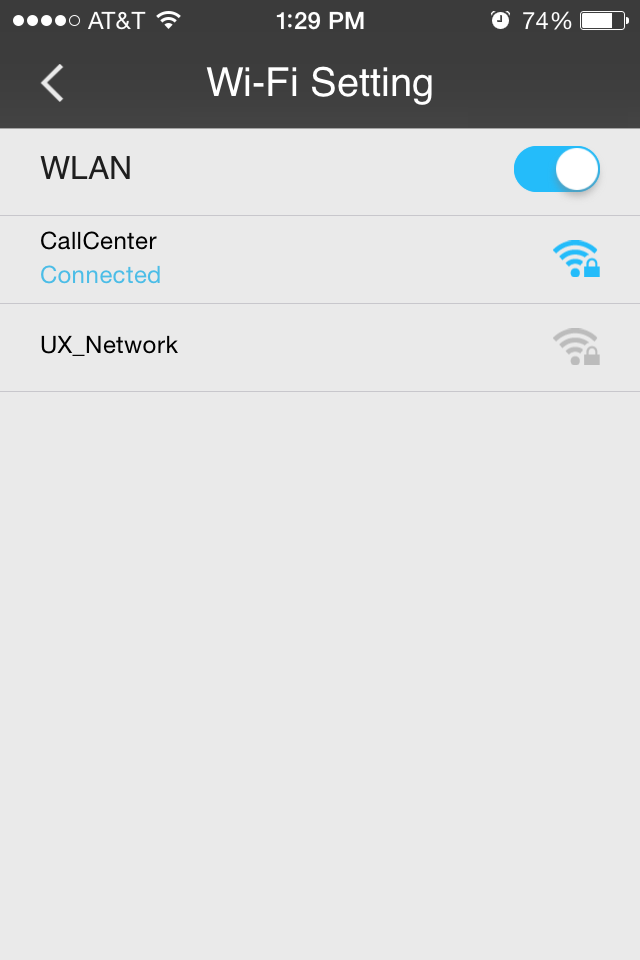
From there select your wireless network, and enter the correct WiFi password. After entering the WiFi password, you should see the word “connected” under the selected network.
At this point you can now disconnect the internet cable from the camera.
***After disconnecting the internet cable you will want to log completely out of the app, and then back in, and you will be able to view the camera wirelessly.***

